Simply choose the service you would like for the specific file you’ll be uploading, and you’ll be presented with a file upload window.
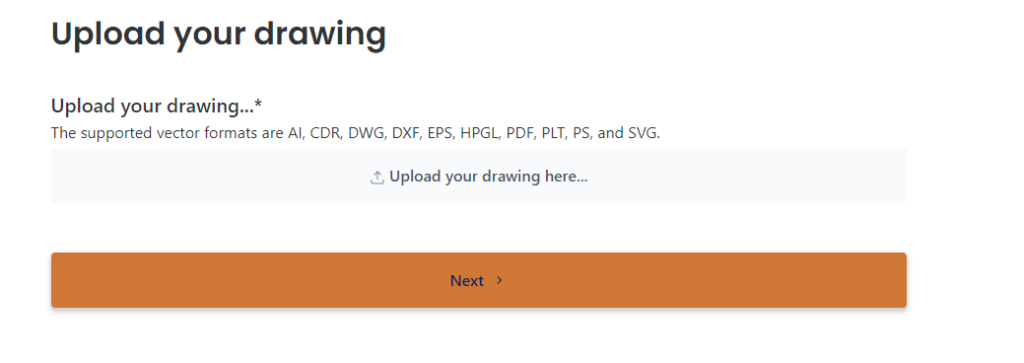
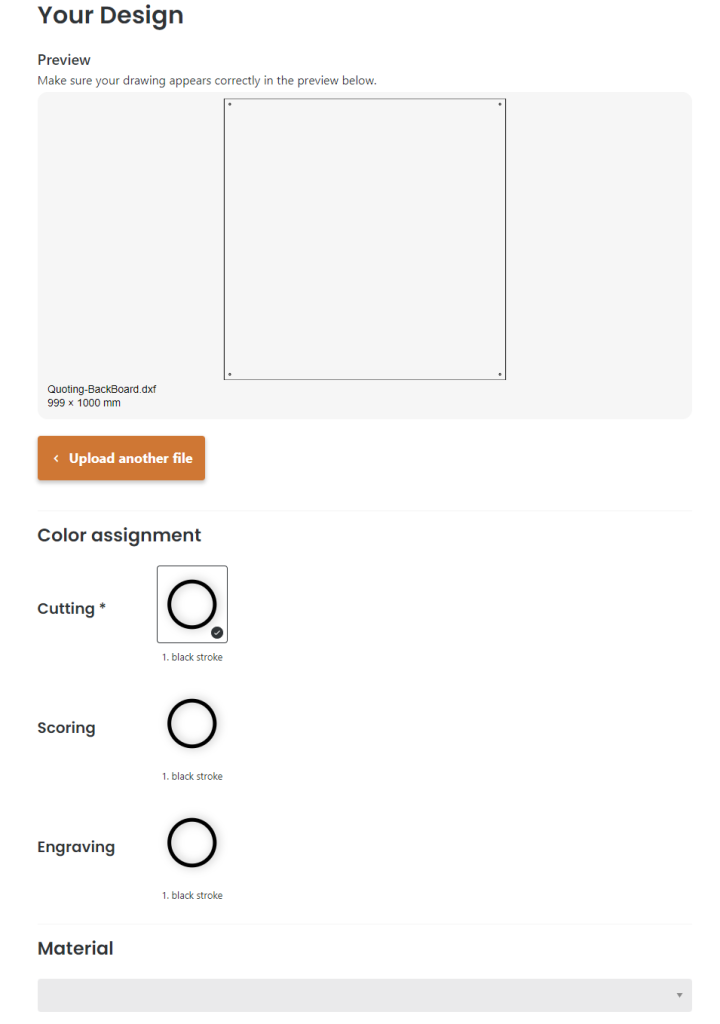
We support multiple file types, the easiest is PDF. Simply upload one file at a time into this window and click next. The software will then evaluate your file and present you with a preview, this also contains the overall size for confirmation of scale.
Simply select the colour of the vectors you wish to cut, engrave or score, in this case for a simple backboard, we only need to cut, so we are going to select Black Stroke for cutting only. Download this file here
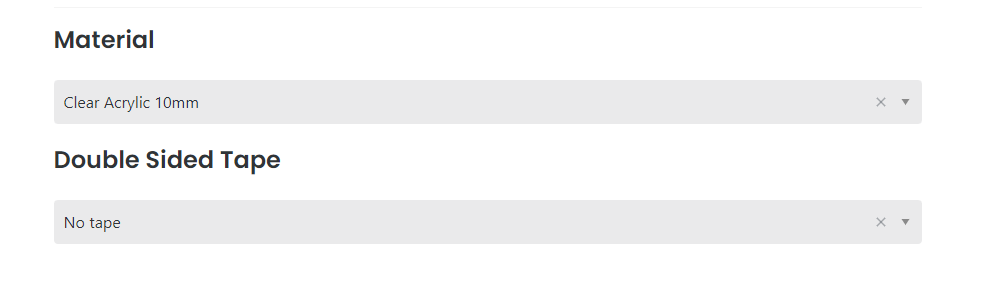
Next we are going select our material for cutting this from, which in this case might be a 6 or 10mm Clear. If we had letters or something that required double sided tape, you can also choose to add this here. After selecting, hit next to move to the next page
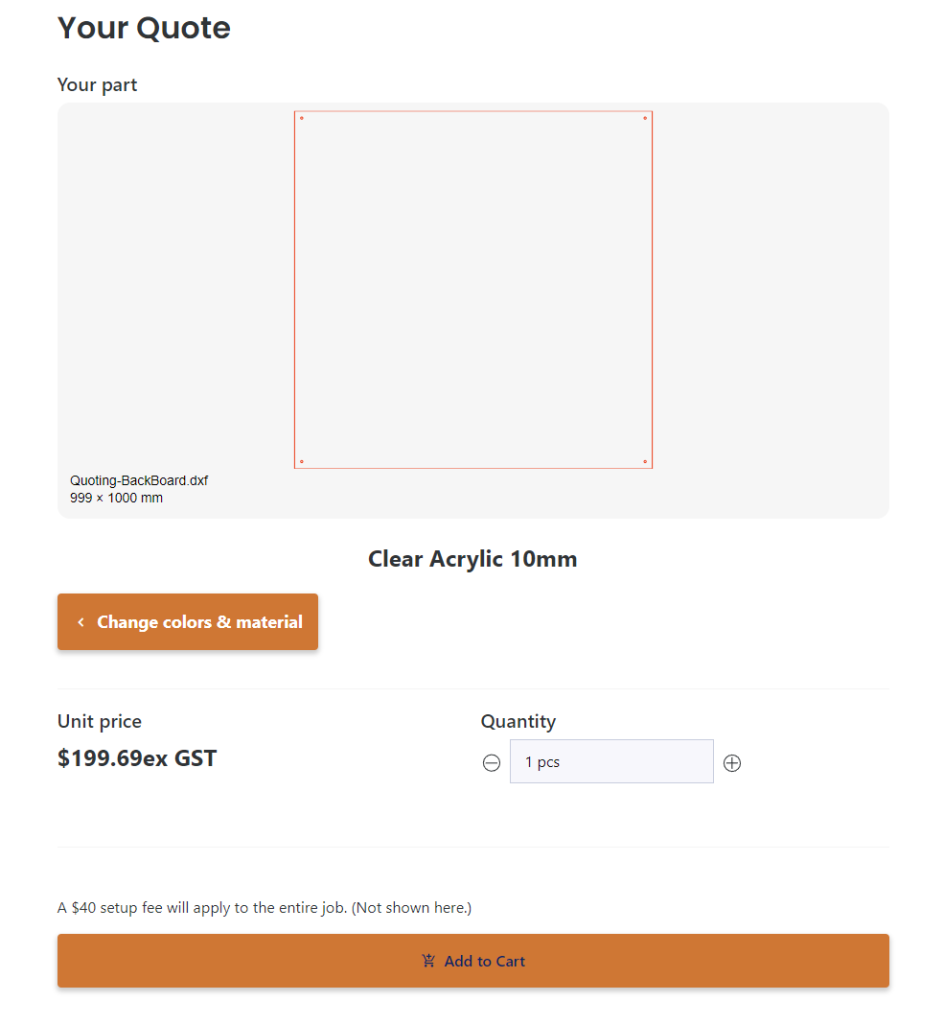
You will then be presented with the item price and an option to select quantity (You’ll have the option to change quantity in the cart page also) If you are happy with your selections, hit Add to Cart to start building your quote.
Once submitted, it will give you a success message and then will return to the start – incase you had more files to upload. If not, we can move over to the cart page to view the quote. This is found under the account tab, top right. In the cart page, we are presented with all your standard e-commerce options such as shipping, quantities, coupon entry, but also a share and save cart option. You may have noticed the “Saved Carts” menu in the accounts drop down. This is where they will be stored for later access. You can also share the cart with your team if required.
From here, if you are ready to checkout, hit proceed to checkout and fill in all the required details, especially the unique number for the order. Our invoicing is automatic, this helps for making it run as smoothly as possible, as well as giving our team a number to reference the job that we are both familiar with.